
Fix Memory Management Blue Screen While Playing Games On Windows
The Blue Screen of Death (BSoD) on Windows is a critical error that displays a blue screen and forces the system to shut down to prevent damage. One version of this is related to Memory Management, which is common when playing games. There’s nothing more frustrating when midway through a gaming session and your computer crashes, especially if playing online.
Fortunately, Memory Management is one of the more understood and easily fixed BSoD errors and can be quickly troubleshooted.
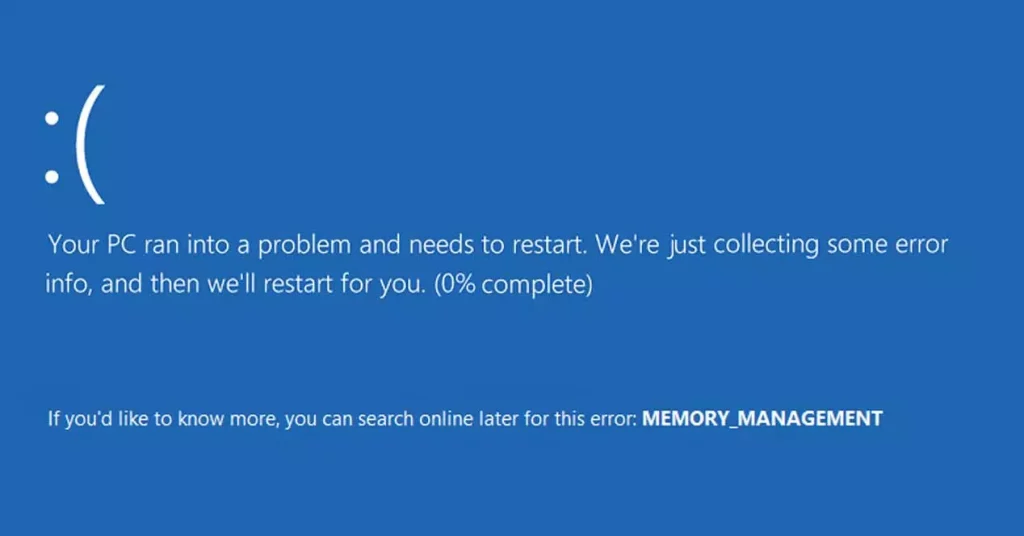
You’ll know Memory Management is the problem because the blue screen will display a stop code: MEMORY_MANAGEMENT.
I first experienced this when playing the remastered Grand Theft Auto Trilogy, but upon researching the error, it can occur when playing any game online or offline. It also happens with regular software too.
Here’s everything you need to know about the memory management blue screen while playing games on Windows and how to easily fix it.
What causes Memory Management BSoD when playing games?
When the Memory Management code appears on a blue screen when gaming, it can be a one-off occurrence or happen whenever you play a game, the issue can be isolated to a single game or any game you play.
According to my research and official Microsoft documentation, there are two underlying causes. Some kind of corruption with the Windows system files that interfere with how memory is accessed when gaming, or a physical hardware problem with RAM modules or other components that interact with different memory tasks.
Some of the most common reasons this happens include:
Failing RAM Modules – When your physical RAM sticks fail or are no longer recognized by the system, it can make games and other programs unstable and result in a BSoD.
Hardware Issues – Other hardware issues, such as problems with your hard drive or SSD, can cause memory errors, especially if the game tries to access files from storage and there are bad sectors or the drive is operating too slowly.
Other Hardware conflicts – If you have recently installed new hardware, it is possible that it conflicts with your existing hardware.
Driver Issues – Outdated, incompatible, or corrupt device drivers can lead to memory-related errors. Ensure your GPU, motherboard, and other drivers are up to date.
Bad Overclocking – Pushing your RAM and other hardware beyond their factory defaults can result in better performance, especially when gaming. However, using bad overclocking settings or simply pushing beyond the limits is a quick way to cause a BSoD.
Overheating – Overheating components, particularly the CPU and GPU, can cause instability, leading to memory-related errors as a secondary problem.
Insufficient RAM – If your system has insufficient RAM to handle the demands of the game, you may encounter memory-related issues, especially if other background processes are running concurrently.
Memory Leaks – Some games or applications include bugs that cause memory leaks. This means memory is gradually consumed without properly resetting. Once it hits a critical level, you get a BSoD.
Software Conflicts – Incompatible background applications or security software can interfere with memory management while gaming.
Malware or Viruses – Malware or viruses can infect various areas of the system, some of which handle memory related tasks.
Page File Settings – Incorrect or insufficient page file settings can lead to memory management issues. Windows uses the page file as a form of virtual memory when physical RAM is exhausted.
Corrupted System Fles – Corrupted system files can also cause the MEMORY_MANAGEMENT blue screen error. Windows can become corrupted for endless reasons, from power surges to failing hardware, to malware and failed Windows updates.
Broken Registry – The Windows registry is like the computer’s reference library stores system settings, software settings, and accounts for everything installed on the system. If this is broken it can lead to all kinds of errors, including memory-related blue screens.
How to fix Memory Management BSoD while playing games on Windows?
If the BSoD only happens when gaming, you should be able to get to the desktop and perform numerous fixes. The solution for you depends on why the blue screen is happening, but the following covers all scenarios.
Before proceeding, it’s always a good idea to make sure Windows is up to date and your system is clean from malware. That way if update problems or malware are the underlying problem, you can fix your computer without it happening all over again.
Here’s what to do:
1. Check System Requirements
If the BSoD only appears while playing a certain game, double-check the game’s minimum system requirements. If your PC falls short, this could be causing it to crash through overheating or general instability. You may need to upgrade to more RAM or a better graphics card.
Of course, you can always lower the game’s graphical settings or switch to a lower resolution like 1080p or 720p to boost performance and lower RAM usage.
1. Opening the Task Manager (right click on the taskbar at the bottom of the screen) not only shows how much system resources are being used by the game, but you can also set the game to be prioritized over other apps and tasks.
2. To do this, find the game in Task Manager, right-click and select go to Details.
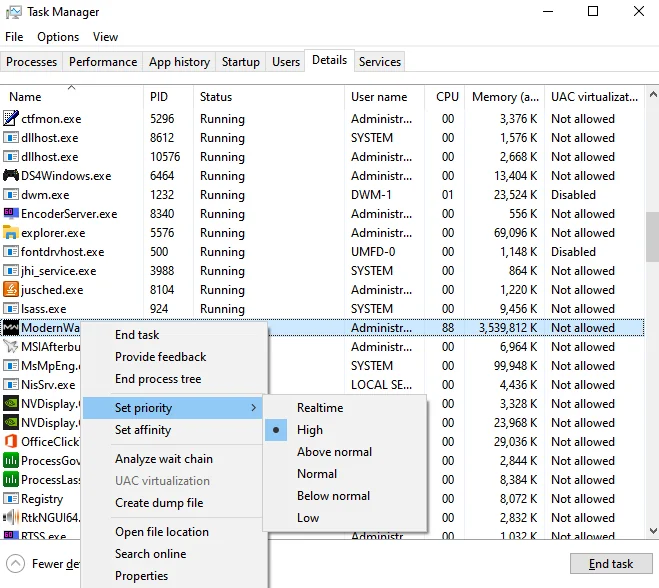
3. Right-click the game again and under Set Priority, choose High or Real-time. This ensures your CPU, RAM, and GPU are always focused on the game.
2. Check Hardware
Power off your computer and check all your hardware components, especially the RAM sticks are seated correctly and there isn’t excess dust or cooling problems.
Over time it is common for the heatsink to lose conductivity with the CPU as the thermal paste degenerates. Try removing the heatsink and applying fresh thermal paste if there is an overheating problem.
3. Update Drivers (RAM & GPU)
Check and update your RAM and graphics card drivers. Most graphics cards come with a software utility to easily update drivers, while RAM may need to be done by downloading the files from the manufacturer’s website and using the Windows Device Manager. To do this:
1. Use the start menu search bar for Device Manager.
2. When you’ve opened the utility, scroll down to the hardware component you wish to update.
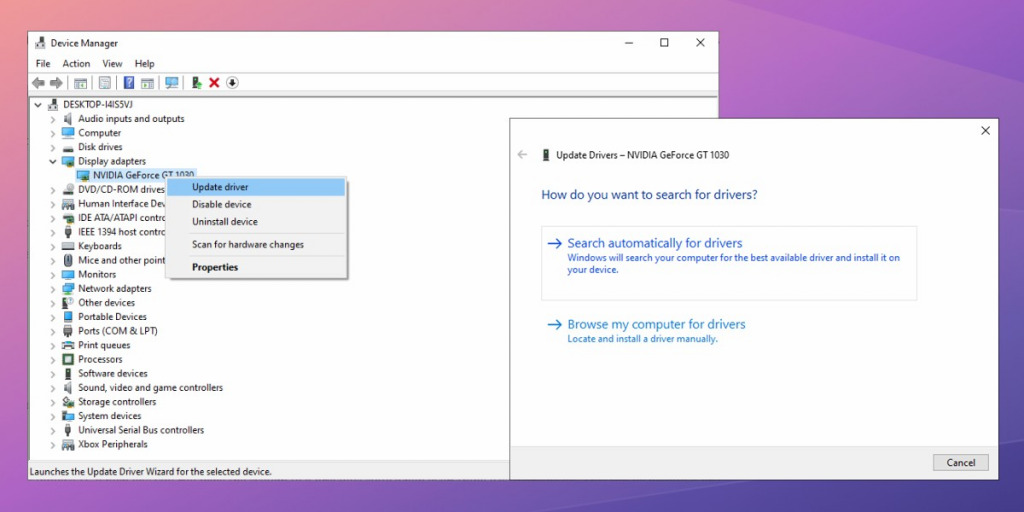
3. Right-click and choose Update Driver.
4. Locate the driver files you previously downloaded from the manufacturer’s website.
4. Windows Memory Diagnostic
The Windows Memory Diagnostic utility is designed to help you check your computer’s RAM for hardware faults or errors like the BSoD. To get started:
1. Press the Windows key and type Windows Memory Diagnostic to find the utility.
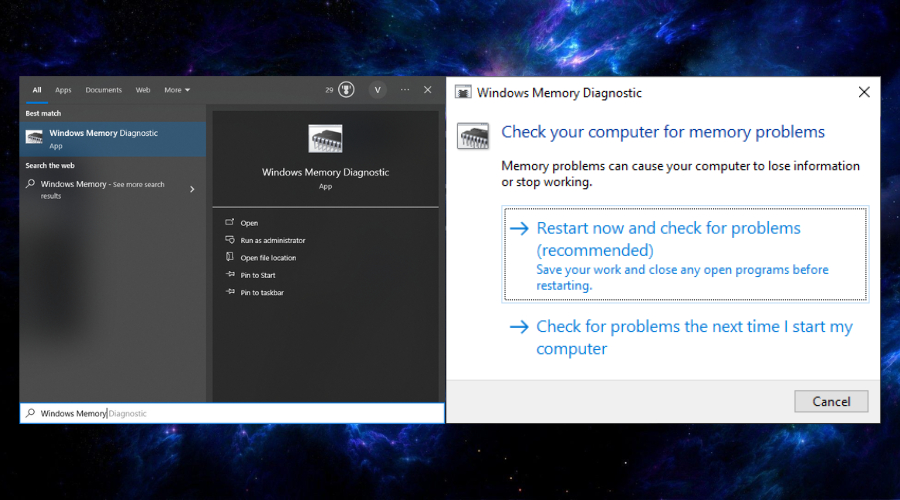
2. Click restart now and check for problems and it will restart your computer immediately and run the memory test.
3. During the test, Windows Memory Diagnostic will display a progress bar and a status message indicating that it’s checking your computer’s memory.
4. Once the test is complete, your computer will restart. If any issues with your RAM are detected, Windows Memory Diagnostic will display a message with the results.
5. If the tool detects issues with your RAM, you may need to replace or repair the faulty RAM modules.
5. Check Virtual Memory Settings
Virtual memory is a portion of your hard drive or SSD that Windows uses as if it were additional RAM when your physical RAM is exhausted. Here’s how to check and adjust virtual memory settings on Windows:
1. Right-click on the This PC or My Computer and select Properties from the context menu.
2. Click on Advanced system settings in the left-hand panel. This will open the System Properties window.
3. Go to the Advanced tab and under the Performance section click the Settings button to open the Performance Options window.
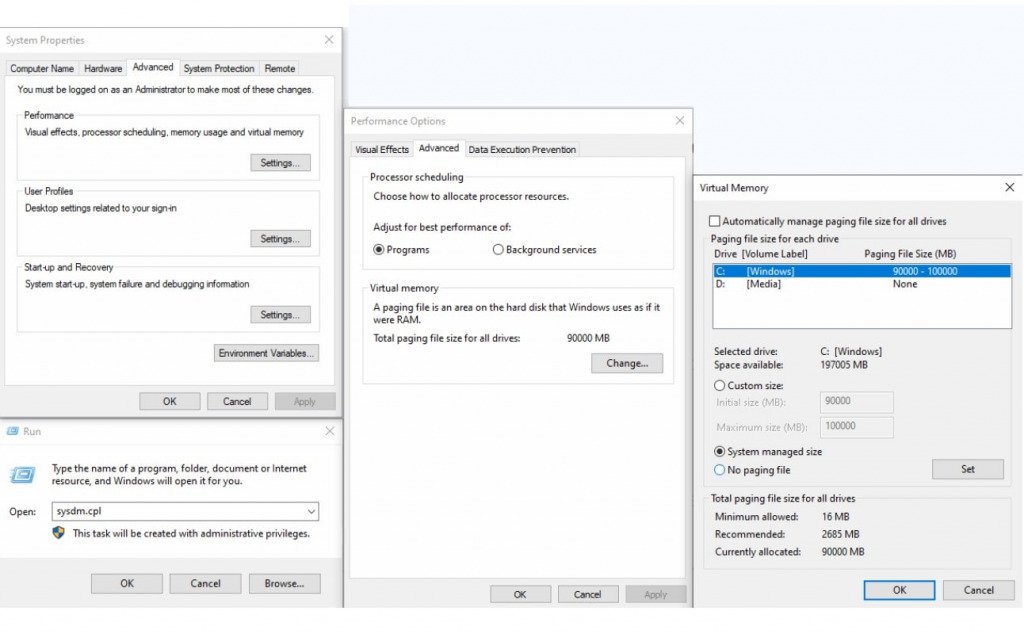
4. Go to the Advanced and under Virtual memory click the Change button to open the Virtual Memory window.
5. Here you can view the current virtual memory settings. It shows the drive where the paging file (virtual memory) is located and the initial and maximum size of the paging file.
6. Check the box for System managed size, or enter a manual value based off a game guide.
6. Reinstall Game
If a game is interrupted while installing or something went wrong with the process, it could lead to a memory management issue. Therefore, it is always wise to reinstall the game to see if it solves the problems. Most games allow you to reinstall without losing saves or settings.
7. Update Game
Sometimes early versions of games come with bugs which can cause memory leaks and other issues. Check and install the latest updates to ensure this isn’t the cause of the BSoD.
8. Revert Overlocking
If you have overlocked your PC, especially the RAM or graphics card, try going back to the default settings to see if this solves the memory management blue screen.
9. Check System Files and Restore Health
Windows has an in-built System File Checker (SFC) that scans and fixes core system files that are corrupted or missing and can cause memory problems.
1. In the start menu search bar type CMD and open the Command Prompt as administrator.
2. Once open, enter the following command:
sfc /scannow
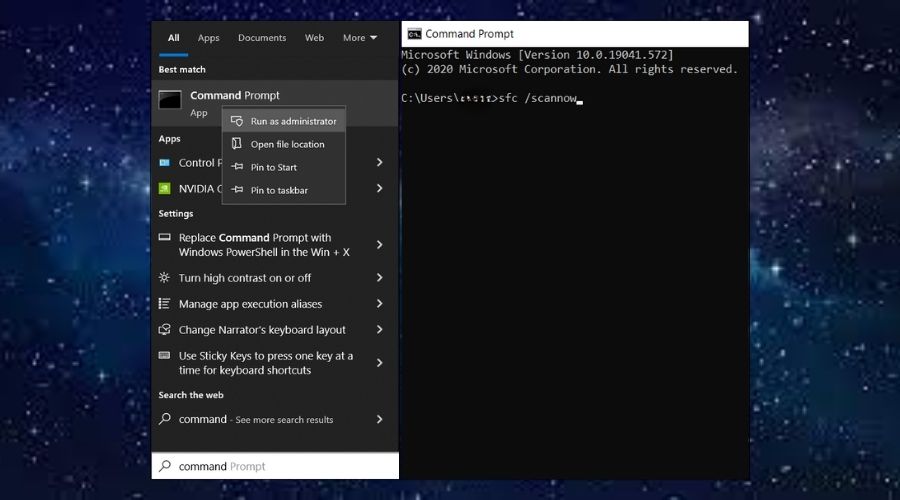
3. SFC will scan Windows, showing the progress as it finds and fixes corrupted and missing system files. Restart your PC when asked.
4. After rebooting, launch the command prompt and second time and enter this command:
DISM /Online /Cleanup-Image /Restorehealth
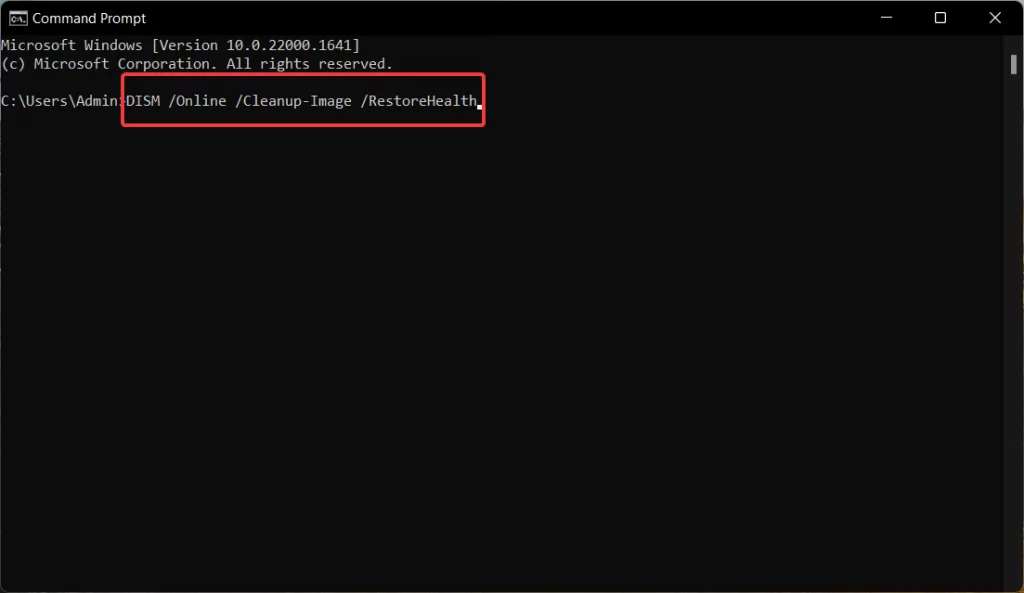
DISM restores the system image, which is another way of fixing corruption within the operating system.
5. Restart your computer when the process is complete.
10. Use a Restore Point
If the memory management BSoD only just started happening, it could be caused by incorrect system settings. You can go back to your old settings by using a restore point.
1. In the start menu search bar enter Create a restore point and click on the utility that appears.
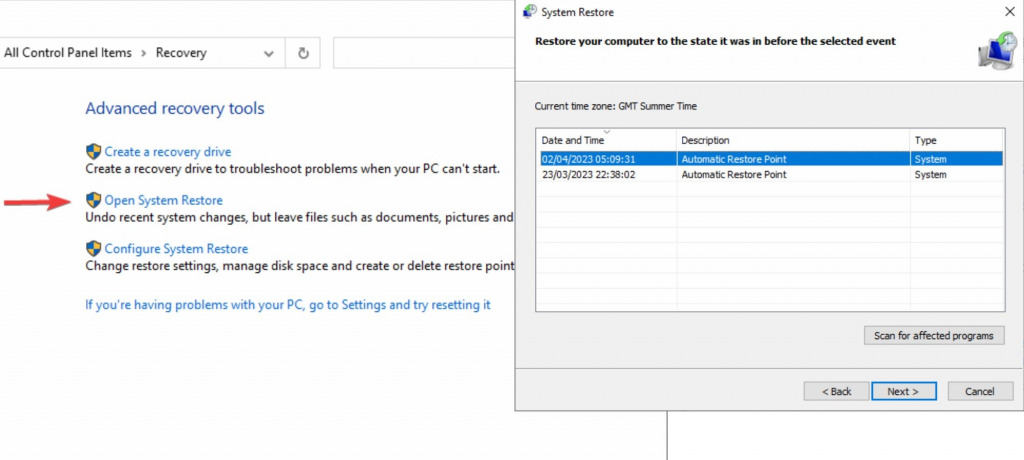
2. Click the Open System Restore link to open the System Restoration Wizard.
3. Select a restore point prior to when BSoD started happening.
4.Confirm the restore point and click Finish. Your PC will then automatically restart after it’s complete.
11. Use a Windows Repair Tool
A Blue Screen of Death is not just a minor inconvenience as it can disrupt your workflow and lead to potential data loss. The Fortect Windows repair tool offers a comprehensive solution to diagnose and fix BSOD issues, ensuring your system’s stability without compromising your data.
1. Download and Install Fortect on your PC.
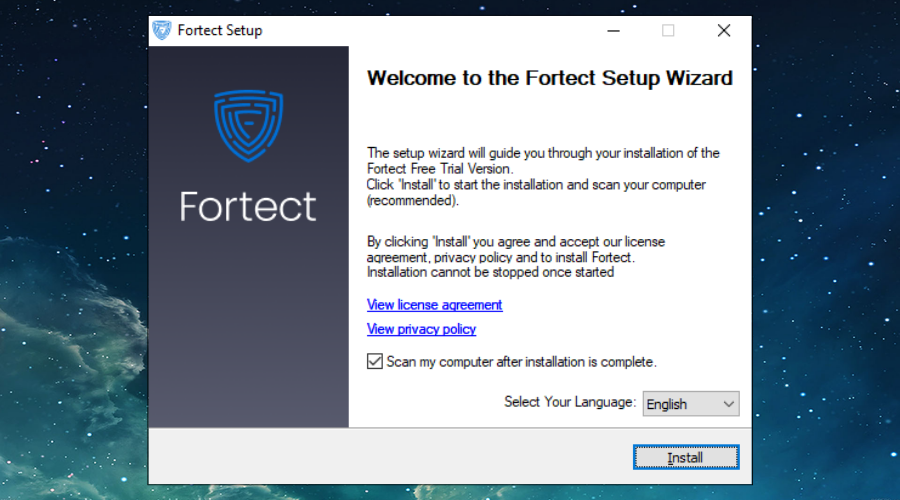
2. Launch Fortect and Start Scanning. It will perform a system-wide analysis, checking for issues in the Windows registry, missing DLLs, and other common causes of BSoD. It quickly identifies issues by comparing your system to its database of healthy Windows configurations.
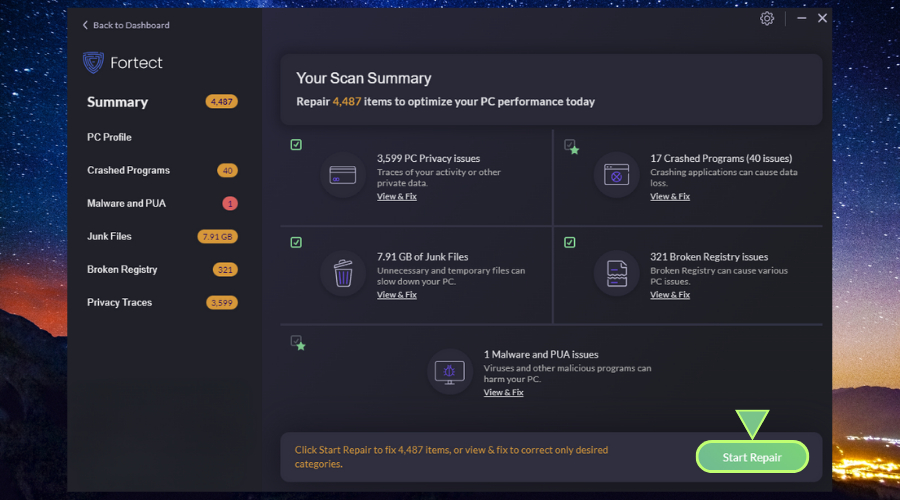
3. Click on Start Repair to replace the problematic files with working versions from Fortect’s constantly updated repository.
4. Restart your PC, after the repair and scan processes are completed.
Fortect is particularly useful for memory problems because it displays a system and hardware summary after scanning. You can quickly see if one of your memory modules isn’t recognized and needs reseating or replacing.
It also compares your entire hardware rig with other Fortect users, which is a good barometer of when you should upgrade to something more modern for smoother gaming.


