
How to Fix Windows Unable to Run Automatic Maintenance Error
Windows users often encounter an “Automatic Maintenance Error,” which can disrupt system performance and functionality. This error occurs when the Automatic Maintenance feature, designed to optimize your system by performing routine tasks, fails to run successfully.
Understanding the common causes of this error and how to troubleshoot it can help you restore your system’s efficiency and ensure it runs smoothly.
Common Reasons for Automatic Maintenance Error
Several factors can contribute to the occurrence of the automatic maintenance error on Windows. Here are some common causes:
- Corrupted system files: Issues with essential system files can prevent automatic Maintenance from functioning correctly.
- Disabled Windows Maintenance: If the automatic maintenance feature is turned off, it won’t perform its scheduled tasks.
- Need for disk space: Lack of available space on your hard drive can hinder completion of maintenance tasks.
- Software conflicts: Conflicts with third-party software can disrupt the automatic maintenance process.
- Malware or viruses: Malicious software can interfere with system processes and cause errors in maintenance operations.
- Outdated Windows version: Using an outdated version of Windows can lead to compatibility issues with the maintenance feature.
5 Ways to Fix Automatic Maintenance Error
If you encounter an automatic maintenance error on Windows, the following troubleshooting steps can help you resolve the issue effectively.
Run the Windows Troubleshooter
Running the built-in Windows Troubleshooter can help identify and fix common problems related to automatic Maintenance. This tool scans for issues and automatically applies fixes when possible. The troubleshooter is essential as it addresses underlying problems affecting the maintenance process.
Steps to Run the Troubleshooter:
- Press Windows + I to open Settings.
- Navigate to Update & Security > Troubleshoot.
- Select Additional troubleshooters.
- Click on System Maintenance and then select Run the troubleshooter.
- Follow the on-screen instructions to complete the process.
Check Disk Space
Ensuring that your system has enough disk space is crucial for automatic Maintenance. If your hard drive is nearly complete, the system may not have enough room to perform its tasks, leading to errors. Regularly monitoring and freeing up disk space can prevent maintenance errors from occurring.
Steps to Check Disk Space:
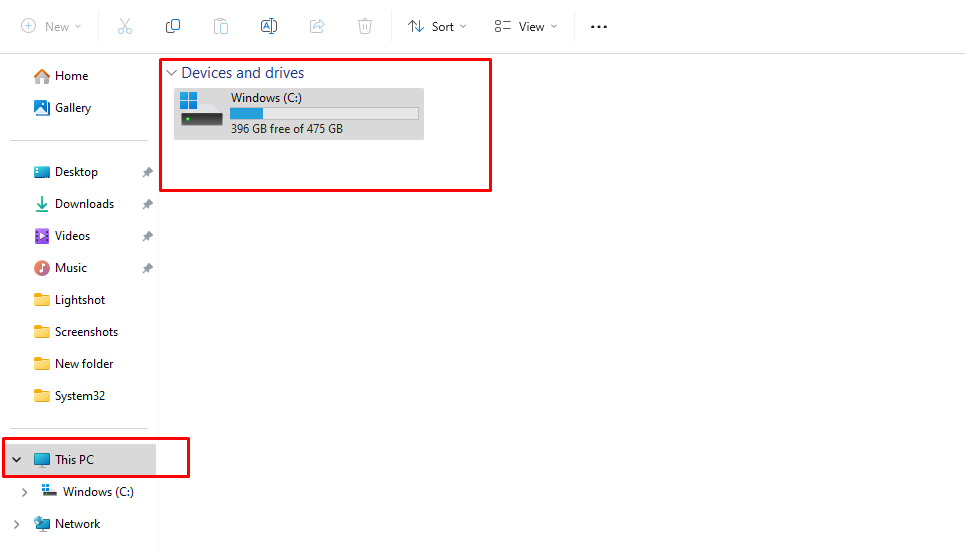
- Open File Explorer and go to This PC.
- Check the available space on your drives.
- If space is low, consider deleting unnecessary files or using the Disk Cleanup utility to remove temporary files.
Enable Automatic Maintenance
Sometimes, the automatic maintenance feature might be disabled. Enabling it ensures that Windows can perform its routine tasks without interruption. This step is essential for maintaining optimal system performance and preventing potential errors.
Steps to Enable Automatic Maintenance:
- Press Windows + R to open the Run dialog.
- Type taskschd. msc and hit Enter to open Task Scheduler.
- In the left pane, navigate to Task Scheduler Library > Microsoft > Windows > Maintenance.
- Right-click on Maintenance and select Enable if it’s disabled.
Repair Corrupted System Files
Corrupted system files can severely affect the performance of automatic Maintenance. Running a system file check (SFC) can help identify and repair these files, ensuring the maintenance process functions properly. This is a crucial step as it helps restore system integrity, allowing Windows to operate efficiently.
Steps to Repair System Files:
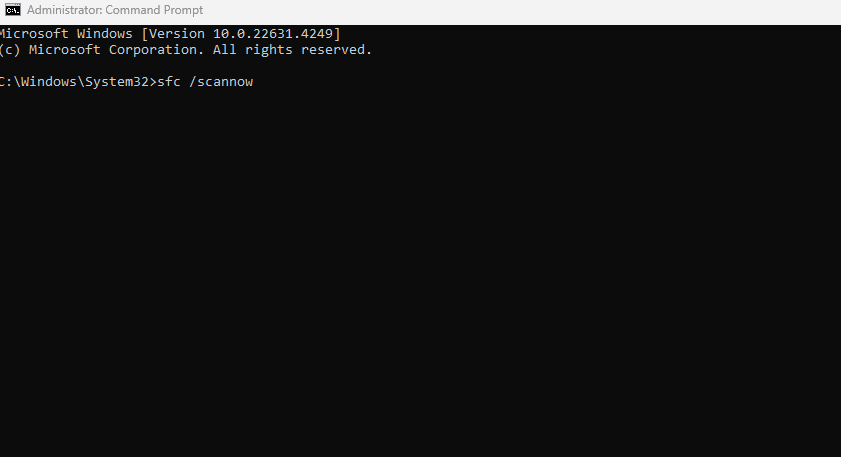
- Open the Command Prompt as an administrator.
- Type sfc /scannow and press Enter.
- Wait for the process to complete. If issues are found, SFC will attempt to repair them automatically.
Check for Malware
Malware infections can lead to many issues, including interference with automatic Maintenance. Regularly scanning your system for malware is essential to ensure no malicious software affects its performance. This step is vital for maintaining your PC’s overall health.
Steps to Check for Malware:
- Open Windows Security by searching for it in the Start menu.
- Go to Virus & Threat Protection.
- Click on Quick Scan or Scan options for a full scan.
- Follow the prompts to remove any detected threats.
If you suspect malware is causing your automatic maintenance error, you must invest in extensive malware protection and defense, such as Fortect.
Fortect is a third-party PC solution that protects against real-time malware. Once you install it, the software will automatically scan and fix your Windows PC of malware, corruption, and other threats. Once you have Fortect installed, it will protect your system from any threats and issues, such as malware causing errors when running your automatic maintenance.
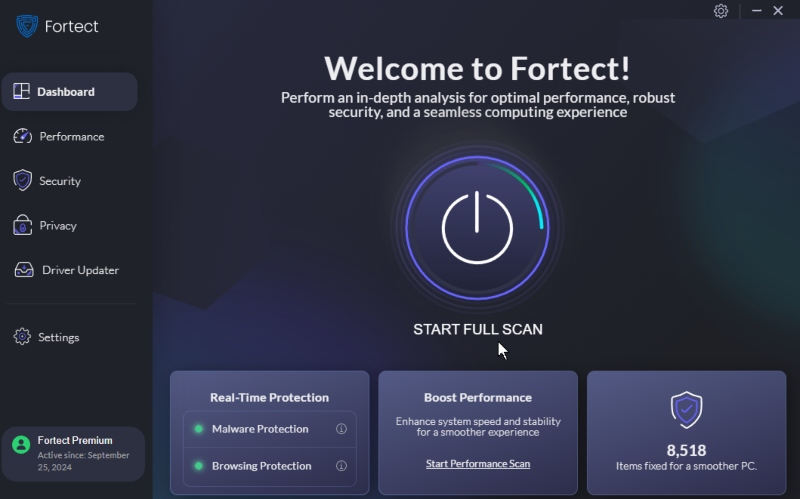
Download and install Fortect now.
Conclusion
The automatic maintenance error on Windows can disrupt system performance, but understanding its typical causes and how to fix it can lead to a smoother user experience.
By following the troubleshooting steps outlined in this guide, you can restore the functionality of the automatic maintenance feature, ensuring that your Windows system runs optimally. Regular Maintenance and monitoring of your system can prevent future issues, allowing for a more efficient computing experience.


