
How to Fix No Audio on Windows 11
Experiencing no audio on your Windows 11 PC can be incredibly frustrating, especially when you need to listen to important content or participate in virtual meetings. This issue can stem from various sources, from simple settings errors to complex system malfunctions.
Understanding the common causes and following a systematic troubleshooting approach can help restore sound to your System efficiently.
Fortect guide provides detailed steps to address the problem of no audio on Windows 11.
Common Causes of No Sound on Windows 11
Understanding why your audio might not work can help you troubleshoot more effectively. Here are some typical causes:
- Volume Level Issues: The volume might be muted or set too low.
- Audio Output Device Problems: Incorrect or disconnected audio output devices.
- System Glitches: Temporary software issues or glitches.
- Driver Issues: Outdated or corrupted audio drivers.
- Audio Enhancements: Conflicting audio enhancement settings.
- Windows Updates: Pending updates or recent changes affecting audio functionality.
8 Ways to Resolve No Audio on Windows 11
1. Check the Volume Level
One most straightforward Check is ensuring that the volume is turned up and not muted. To check the volume level:

- Click on the speaker icon in the system tray at your screen’s bottom-right corner.
- Verify that the volume slider is set to an audible level.
- Ensure the speaker or headphone icon does not have a red “X” indicating muted.
2. Ensure Speakers or Headphones Are On
Confirm that your speakers or headphones are powered on and properly connected. Ensure external speakers are powered on and plugged into the correct audio jack. For Bluetooth devices, check that they are paired and connected to your PC.
3. Restart Your PC
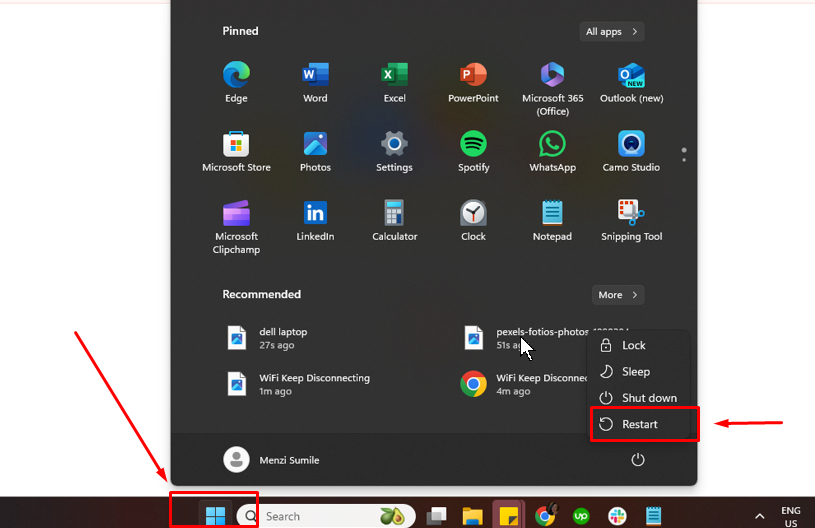
Sometimes, a simple restart can resolve audio issues by refreshing system processes. To do so, click the Start menu, select the Power button, and choose Restart. After your PC restarts, check if the audio issue is resolved.
4. Make Sure Your Windows Is Up to Date
Keeping Windows 11 updated ensures that you have the latest patches and fixes that could resolve audio problems. To check for updates:
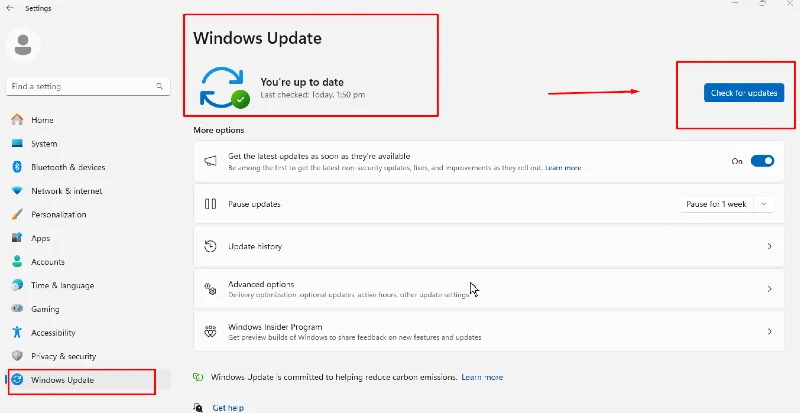
- Open Settings by pressing Win + I.
- Go to Update & Security.
- Click on Windows Update and select Check for updates.
Install any available updates and restart your PC if necessary.
5. Update Your PC’s Device Driver
Outdated or faulty drivers can cause audio issues. To update your audio drivers:
- Right-click on the Start menu and select Device Manager.
- Expand the Sound, video, and game controllers section.
- Right-click on your audio device and select Update driver.
- Choose Search automatically for updated driver software.
Windows will search for and install the latest drivers.
Consider investing in Fortect PC solution with its driver updater for hassle-free scanning and updating. Fortect Premium performs automatic scans of your installed drivers, detects any that are faulty or outdated, and sends you real-time alerts. It also simplifies the driver update process, helping you save time and avoid hassle.
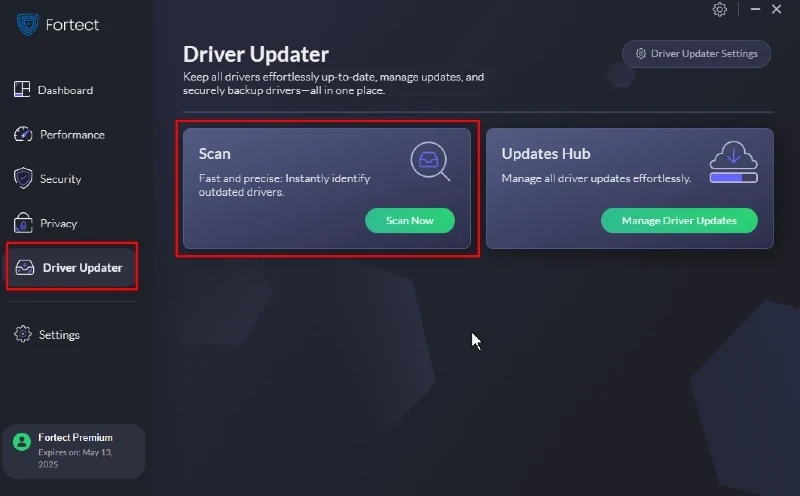
Download and install Fortect now.
6. Disable Audio Enhancements
Audio enhancements can sometimes interfere with sound playback. To disable them:
- Right-click the speaker icon in the system tray and select Sounds.
- Go to the Playback tab and select your audio device.
- Click Properties and navigate to the Enhancements tab.
- Check the box that says Disable all enhancements, then click Apply and OK.
7. Run the Built-In Audio Troubleshooter
Windows 11 has a built-in audio troubleshooter that automatically detects and fixes audio problems. To run it:
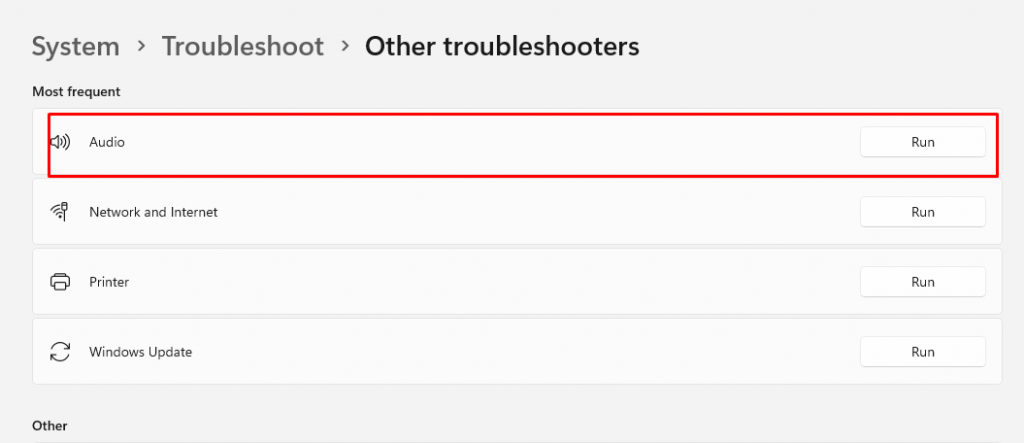
- Open Settings by pressing Win + I.
- Go to System and select Troubleshoot.
- Click on Other troubleshooters.
- Find and run the Audio troubleshooter.
Follow the on-screen instructions to complete the troubleshooting process.
8. Restart Audio Services
Restarting audio services can resolve issues related to audio processes. To do this:
- Press Win + R to open the Run dialog.
- Type services. msc and press Enter.
- In the Services window, locate Windows Audio.
- Right-click on it and select Restart.
Do the same for Windows Audio Endpoint Builder if necessary.
Conclusion
Resolving audio issues on Windows 11 requires a systematic approach to identify and fix potential problems. You can restore sound functionality quickly by checking simple settings such as volume levels and connections, updating drivers, and utilizing built-in troubleshooting tools.
Following these steps should help you diagnose and resolve the no audio issue on your Windows 11 PC, ensuring a smooth and uninterrupted audio experience.


