System Restore on Windows 11 Not Working: Quick Fix
If you’re facing errors on Windows 11 such as missing DLLs and system files, crashes, and unexpected reboots, the built-in System Restore feature is an ideal solution. It reverts all Windows user settings to a previous point in time. But what can you do when the System Restore Windows 11 not working error occurs?
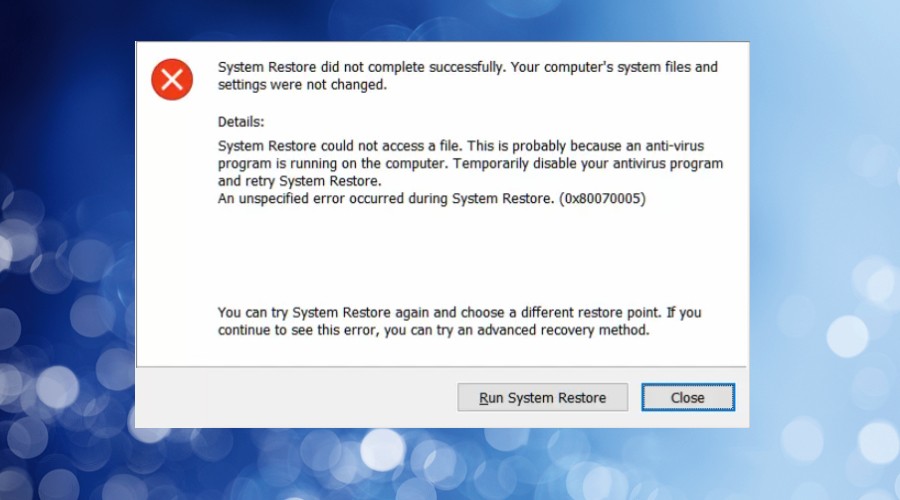
This happened to me after a routine Windows update. Numerous error messages may be displayed, but sometimes the utility doesn’t open at all. A comm error message reads:
System Restore did not complete successfully. Your computer’s system files and settings were not changed.
Here’s more about how it happens and the easiest ways to fix it.
Why does the System Restore working Windows 11 error occur?
There are many reasons why System Restore might not work for you. A common problem is you may not have scheduled restore points in the first place. That means there are no restore points to load. Other common reasons include:
Failed windows updates – If a Windows update fails or is forcibly cancelled midway through, it can corrupt the system and break the System Restore utility.
Malware – Sophisticated malware and viruses target important Windows features to make it more difficult to fix your computer.
System corruption – Whether you’ve experienced a power outage, messed around with the Windows registry, or some of your hardware components are failing, this can lead to corruption of important system files related to System Restore.
Lack of storage space – Running low on storage space can cause System Restore to fail because it needs to load the previous restore point, which can take up a lot of space, while keeping the current system intact during the process.
You upgraded the OS – If you recently upgraded your Windows operating system from an older version to Windows 11, System Restore will not work because the back-end is different.
Overactive Antivirus – When an antivirus program is particularly strict, it will monitor changes to system files, which can interfere with System Restore. This is because it’s trying to prevent unauthorized access to system files. A comm error message in this scenario reads:
System Restore could not access a file. This is probably because an anti-virus program is running on your computer.
How to fix System Restore when it’s broken on Windows 11
For future benefit, it’s always wise to make sure System Restore is turned on and scheduled to make regular restore points. That way you’ll be able to use it effectively in the future. Furthermore, delete any large files that could be causing a low hard drive space error during restoration.
The following fixes can help get System Restore working again on Windows 11 and repair any damaged system files.
1. Temporarily disable your antivirus
If an overactive antivirus is the problem, it’s perfectly safe to temporarily disable it, as long as you’ve already run a full system scan to eliminate any genuine malware that could be contributing to the problem.
2. Scan for Malware
Using both Windows’ built-in Virus & threat protection and a reputable third-party antivirus, perform a full system scan to remove any malware or viruses that may be targeting System Restore,
1. In the start menu search bar type Virus and select the Virus & threat protection result.
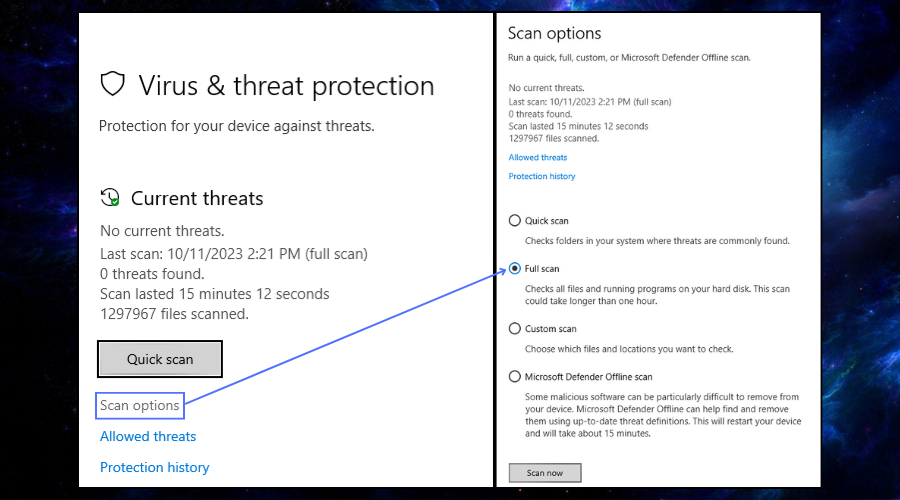
2. To perform a full system scan, click on Scan options under the Virus & Threat Protection section and choose Full scan.
3. Click Scan now and wait for the process to complete.
4. Review the results and try System Restore once again.
3. Run Windows Update
When a Windows update fails, it can cause all sorts of problems, including stopping System Restore from working. Check for updates again and you should be able to resume the update and fix the problem.
1. Open the Start menu, search for Windows Update, and open the link.
2. In the Windows Update window, click on the Check for updates button or resume a failed update.
3. Wait for the automatic process to complete and your PC may restart.
3. Use Fortect to repair Windows
Fortect is a comprehensive Windows repair tool that will scan for and replace missing system files, while repairing other errors.
1. Download and Install Fortect on your computer.
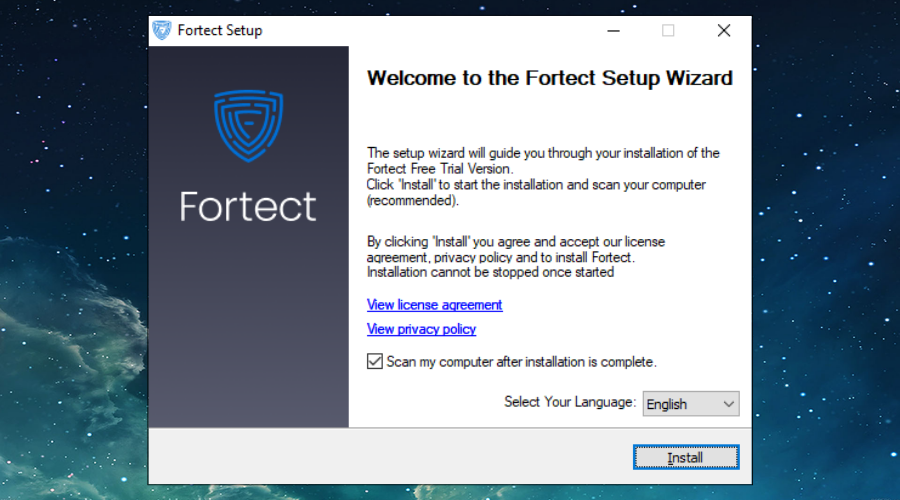
2. Open the program and run a scan.
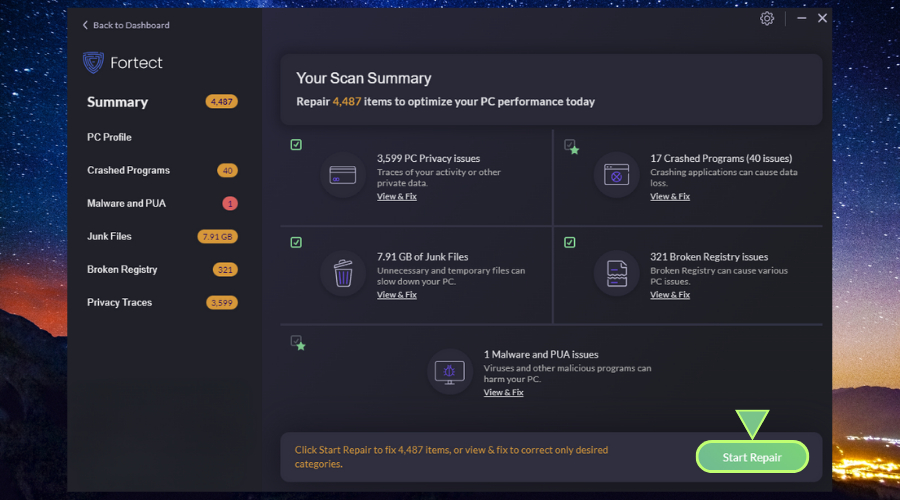
3. Once finished, Click on Start Repair and it will replace missing system files automatically from its up-to-date repository of clean Windows components.
Fortect also fixes the Windows Registry, which can help the system find system files that are still on your computer but have lost their registry entries, which prevents Windows from finding and using them.
5. Run Windows SFC and DISM
The System File Checker (SFC) and Deployment Imaging Service and Management (DISM) tools find damaged or missing system files and repairs them.
1. Type CMD in the start menu search bar to find the Command Prompt and choose to run as Administrator.
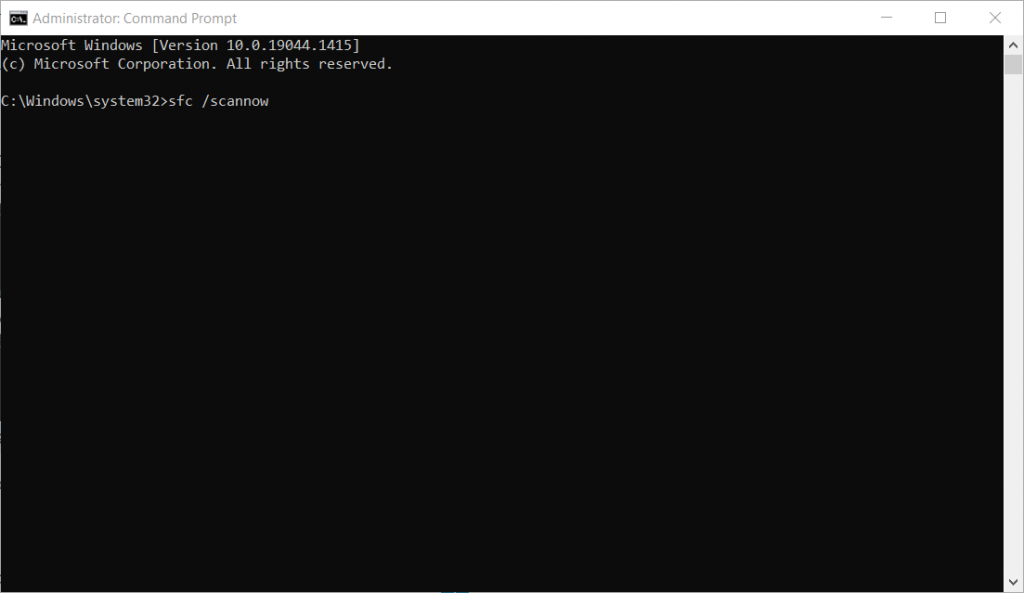
2. In the black window type sfc /scannow and press Enter.
3. Following the scan, it will either state: Windows found corrupt files and repaired them successfully or Windows did not find any integrity violations.
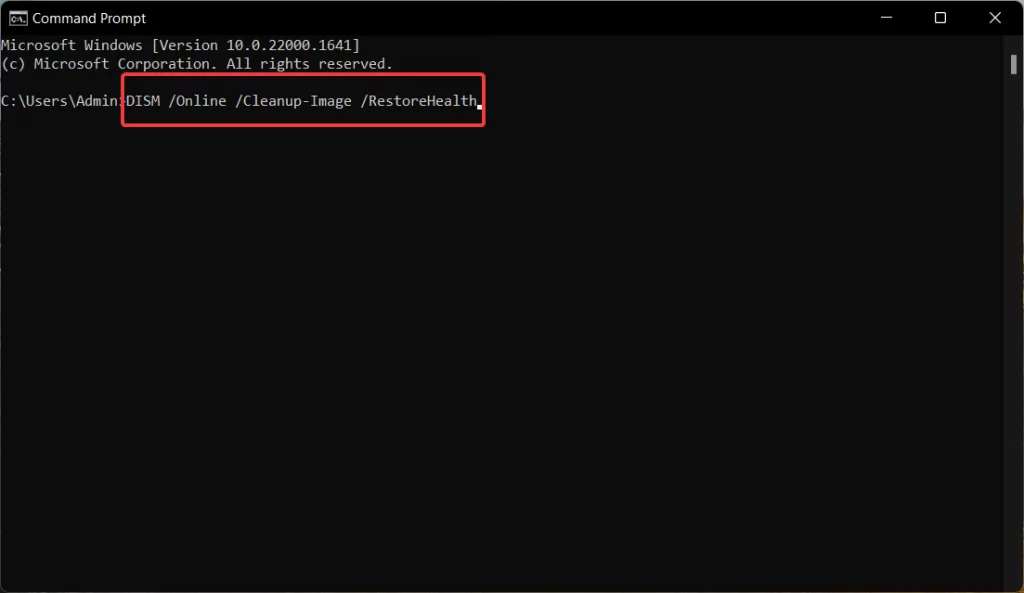
4. Open the Command Prompt again and type DISM /Online /Cleanup-Image /Restorehealth and press Enter.
3. Wait for completion and your PC will restart.
Final thoughts on System Restore not working on Windows 11
When the System Restore feature on Windows 11 isn’t working, it can be very frustrating, especially when you need the computer for work and other important tasks. Fortunately, fixing the problem is easy when you know how.
If an overactive antivirus or malware itself is the culprit, you’re halfway there to fixing it. Repairing the damage with in-built utilities like SFC or DISM can help, but a tool like Fortect is the go-to solution if these fail. What’s more, Fortect will repair the registry, help detect potentially unwanted programs, and remove junk files that may be hogging the hard drive space.


