Laptop Slow After Windows 11 Update? 10 Quick Fixes
Windows updates provide important security patches and feature updates that are important for keeping your system secure and stable. However, sometimes it doesn’t always go to plan. If like me you experienced a slow laptop after updating Windows 11, there are a number of reasons that might be the problem.
Let’s take a closer look at why performance can take hit and 10 quick fixes to get things running smoothly again.
Why does a laptop slow after Windows 11 update?
Some of the most common reasons a laptop can slow down after a Windows 11 update include:
Update Failure – Sometimes the update itself can fail due to user interruption, internet disconnection, or power outages. When this happens, it can also cause corruption of important system files and other data, leading to slow performance and errors like missing DLLs.
Full Hard Drive – Updates require sufficient free hard drive space because the system has to maintain the current Windows installation while downloading the update file and applying the update. Insufficient space can cause an update to fail completely or push your hard drive to the limit, resulting in slow performance afterwards.
Malware – Sophisticated malware can target Windows updates and interfere with the new files, causing errors and slowdowns. Malware in general will hog system resources and slow your laptop. If your system was infected prior to the update, a large update will only cause more performance issues.
Outdated Drivers – Updates that bring new features can cause compatibility issues with existing hardware, causing laptop slowness.
Outdated Software – Similarly to drivers, software can run slower after a Windows 11 update because it is no longer in-line with the operating system’s current standards.
Aging Hardware – Just because hardware is compatible with the latest Windows update, doesn’t mean it meets the recommended requirements. Everything from the CPU to the graphics card can begin to struggle as Windows becomes more taxing on your components.
How to fix a slow laptop after a Windows 11 update
In my case, something went wrong with the update itself and reinstalling it seemed to fix the problem. After further research here are some other common fixes that can repair most cases of laptop performance issues.
1. Scan for Malware
Before doing anything, perform a full system scan to make sure viruses or any other malware are not slowing your laptop.
2. Update Drivers
Use your hardware manufacturer’s software utility or go to the official site and download the latest drivers.
1. Type Device Manager in the start menu search bar to find the utility.
2. Scroll down to see any obvious updates, noted by an exclamation warning.
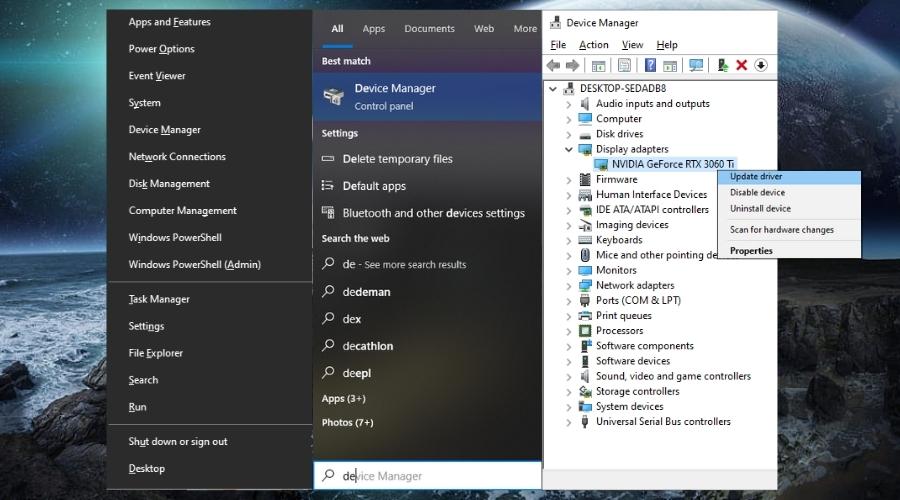
3. Right click on the device to update and select Update Driver.
4. Browse to the driver files you downloaded previously or let Windows check automatically.
3. Update Software
Check all the main software you use regularly and run their update processes. In some cases, you may have to go to the software’s website and manually download the latest version.
4. Reinstall the Windows 11 update
Like me, the first step is to check if the update actually finished properly. To do this:
1. Restart your laptop.
2. Once back on the desktop, Go to Start > Settings > Update and security, and then click Check for updates. Windows should resume or find the latest update again.
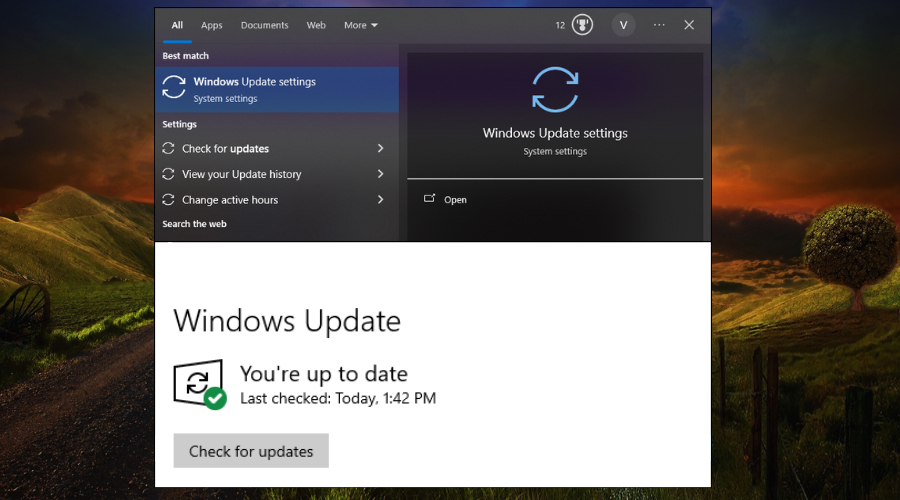
3. Wait for the process to finish and don’t interrupt any reboots as the update completes.
5. Run Windows Update Troubleshooter
The built-in troubleshooter can help walk you through any update problems.
1. Go to Settings > Privacy & Security > Troubleshoot.
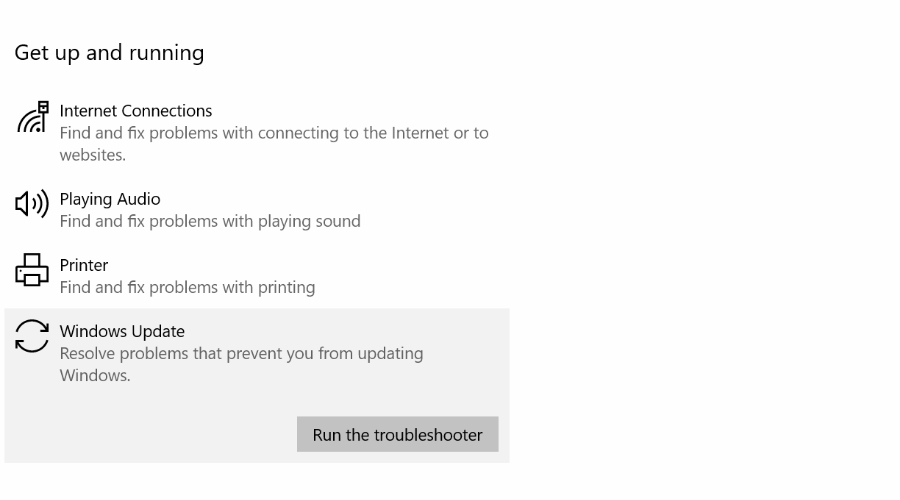
2. Click on Additional troubleshooters and select Windows Update.
3. Run the troubleshooter and follow the on-screen instructions.
6. Clear Windows Update Cache
The Windows Update cache might be causing issues. You can clear it by following these steps:
1. Type CMD into the start menu search bar and open the Command Prompt as Administrator.
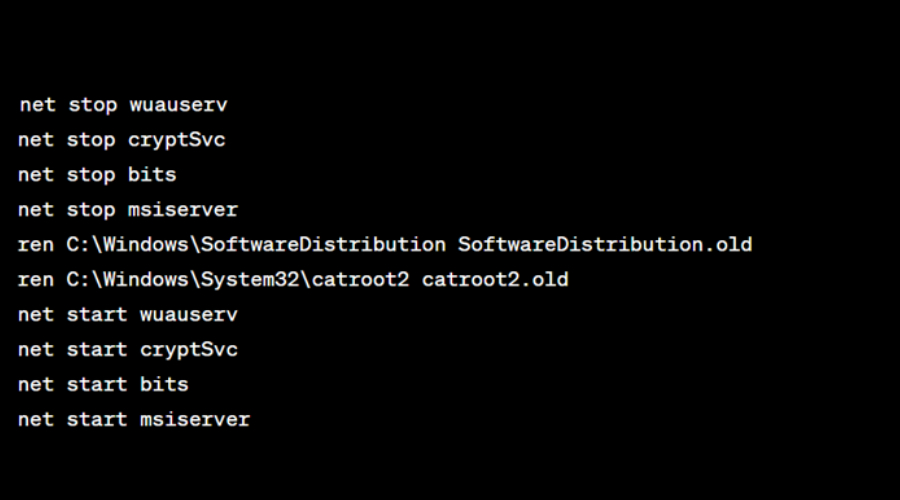
2. Type the following commands in order and press Enter after each:
- net stop wuauserv
- net stop cryptSvc
- net stop bits
- net stop msiserver
- ren C:\Windows\SoftwareDistribution SoftwareDistribution.old
- ren C:\Windows\System32\catroot2 catroot2.old
- net start wuauserv
- net start cryptSvc
- net start bits
- net start msiserver
3. Restart your laptop and repeat the main Step 1 above to check for updates.
7. Manually download the Windows 11 Update
If a specific update won’t start, you can try downloading and installing it manually from the Microsoft Update Catalog.
1. Visit the Microsoft Update Catalog website and search for the update using its KB number, which is shown in the Windows Update page on Windows.
2. Download the update and run the installer.
3. Restart your laptop.
8. Use Windows DISM and SFC
The Deployment Imaging Service and Management (DISM) and System File Checker (SFC) tools help detect and fix corruption that might be affecting Windows Update.
1. Type CMD in the start menu search bar, highlight the Command Prompt and select run as Administrator on the right.
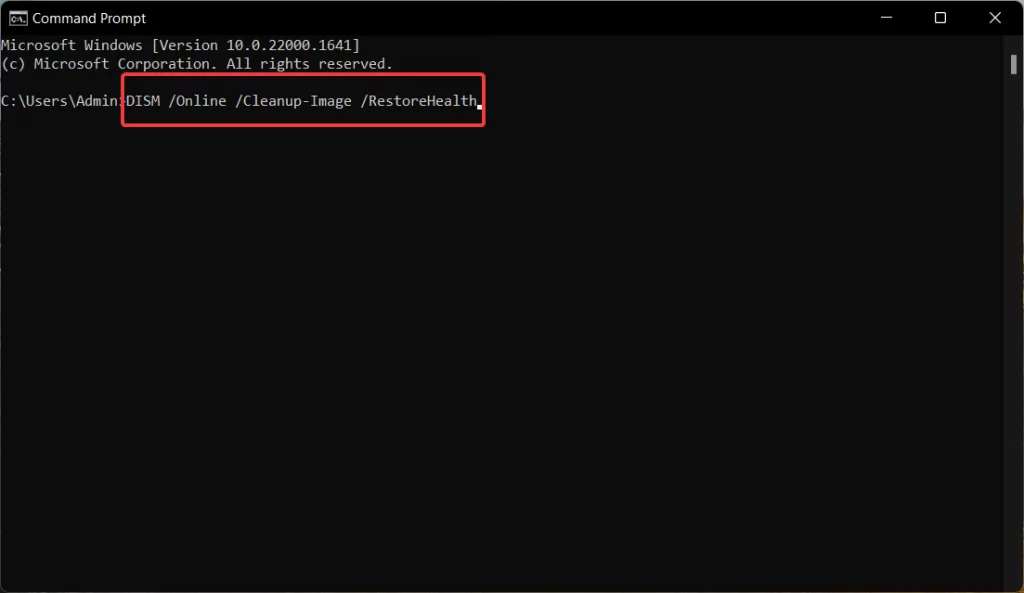
2. Enter DISM /Online /Cleanup-Image /Restorehealth and press Enter to run the command.
3. Wait for the process to complete and your laptop will restart.
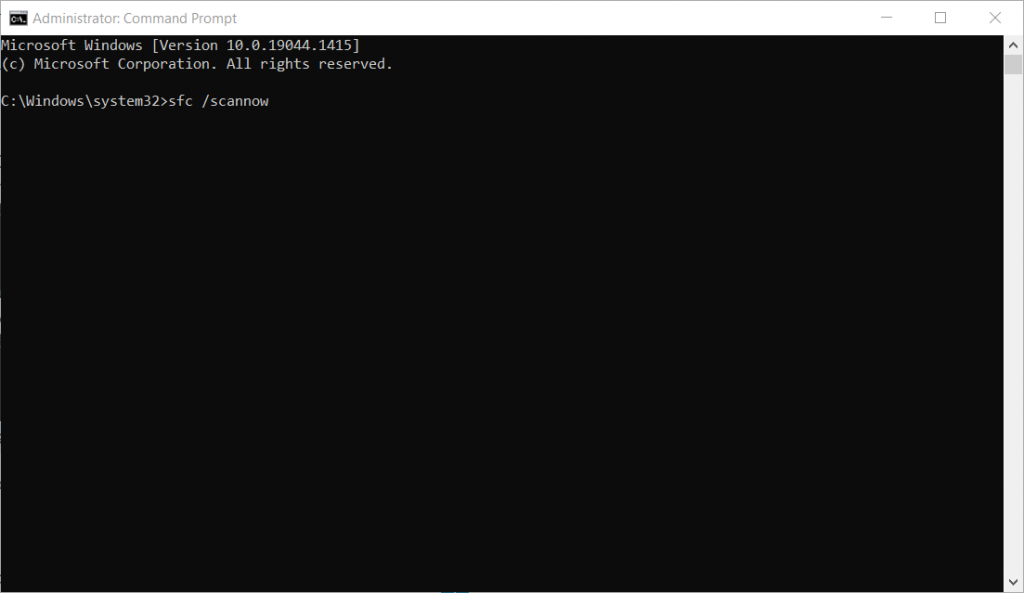
4. Reopen the Command Prompt, type sfc /scannow and press Enter to run the command.
5. Wait for one of these messages: Windows found corrupt files and repaired them successfully or Windows did not find any integrity violations.
9. Use Fortect
Fortect is the perfect solution for Windows problems. It detects and automatically replaces any damaged or missing system files, while cleaning Gbs of unneeded junk data to bring your hard drive back to optimal performance.
1. Download and Install Fortect on your laptop.
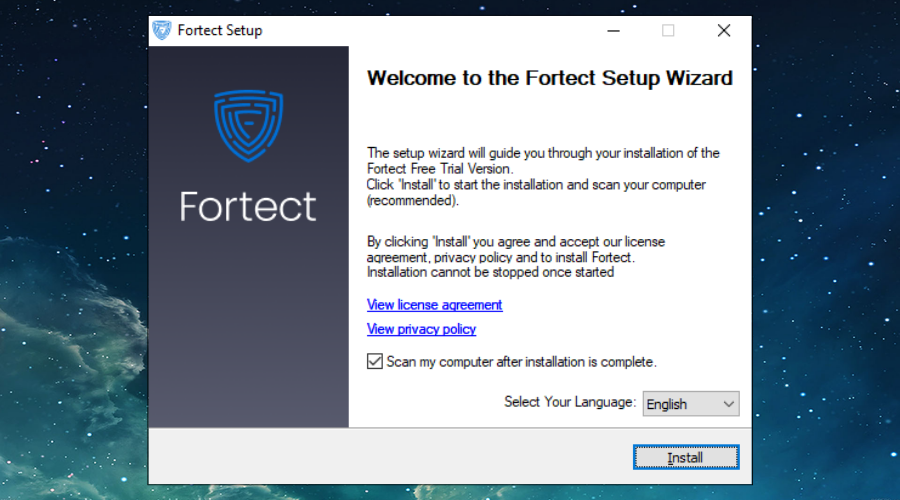
2. Launch the program and run a scan.
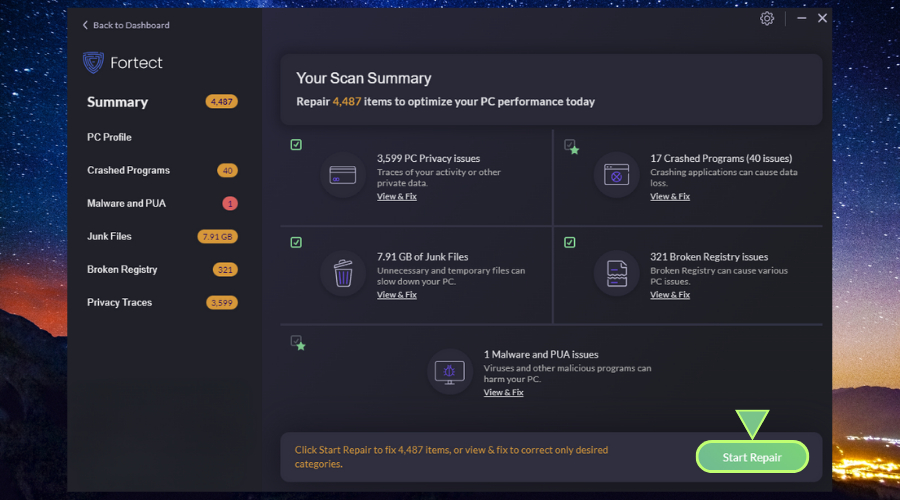
3. Once complete, Click Start Repair and it will replace system files from its up-to-date database of Windows components.
Fortect also repairs the Windows Registry if its broken, restoring Window Update registry keys and any other troublesome entries without risking manual editing yourself.
10. Run System Restore
When your laptop slows after an update, restoring your system to a previous point lets you try the update again with a clean system. However, you need a restore schedule preset to have any restore points saved.
1. Search restore in the start menu search bar and open Create a restore point.
2. In the Recovery window, click Open System Restore.
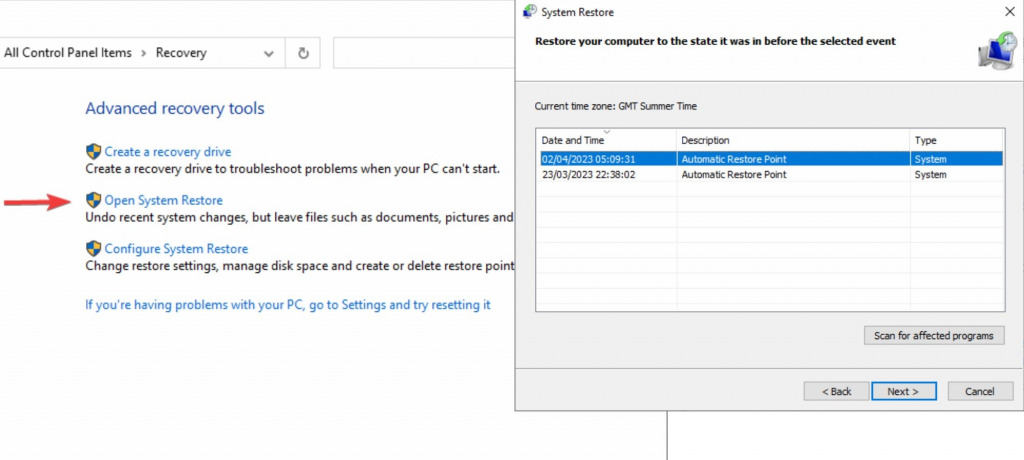
3. Choose a restore point from before the troublesome update and click through to Finish.
4. Your Laptop will restart to complete the process.
Note: Using a restore point will keep all your personal files but will change Windows user settings to their previous state.
Laptop Slow After Windows 11 Update? Final thoughts
There’s nothing worse than a slow laptop, especially after an update, which is supposed to improve your Windows 11 experience. Fortunately, there are many in-built methods to fix troublesome updates and repair corrupted system files.
A Windows repair tool like Fortect combines everything into one simple scan and fix approach, taking all the junk data with it to improve performance.


